Free U.S. Continental Shipping on orders $35+ ● No Sales Tax outside California

Water leaking at the red pressure-release button
A small drip or weep at the red button is almost always a loose adjustment screw — a five-minute fix with a screwdriver. Here’s how to do it safely.
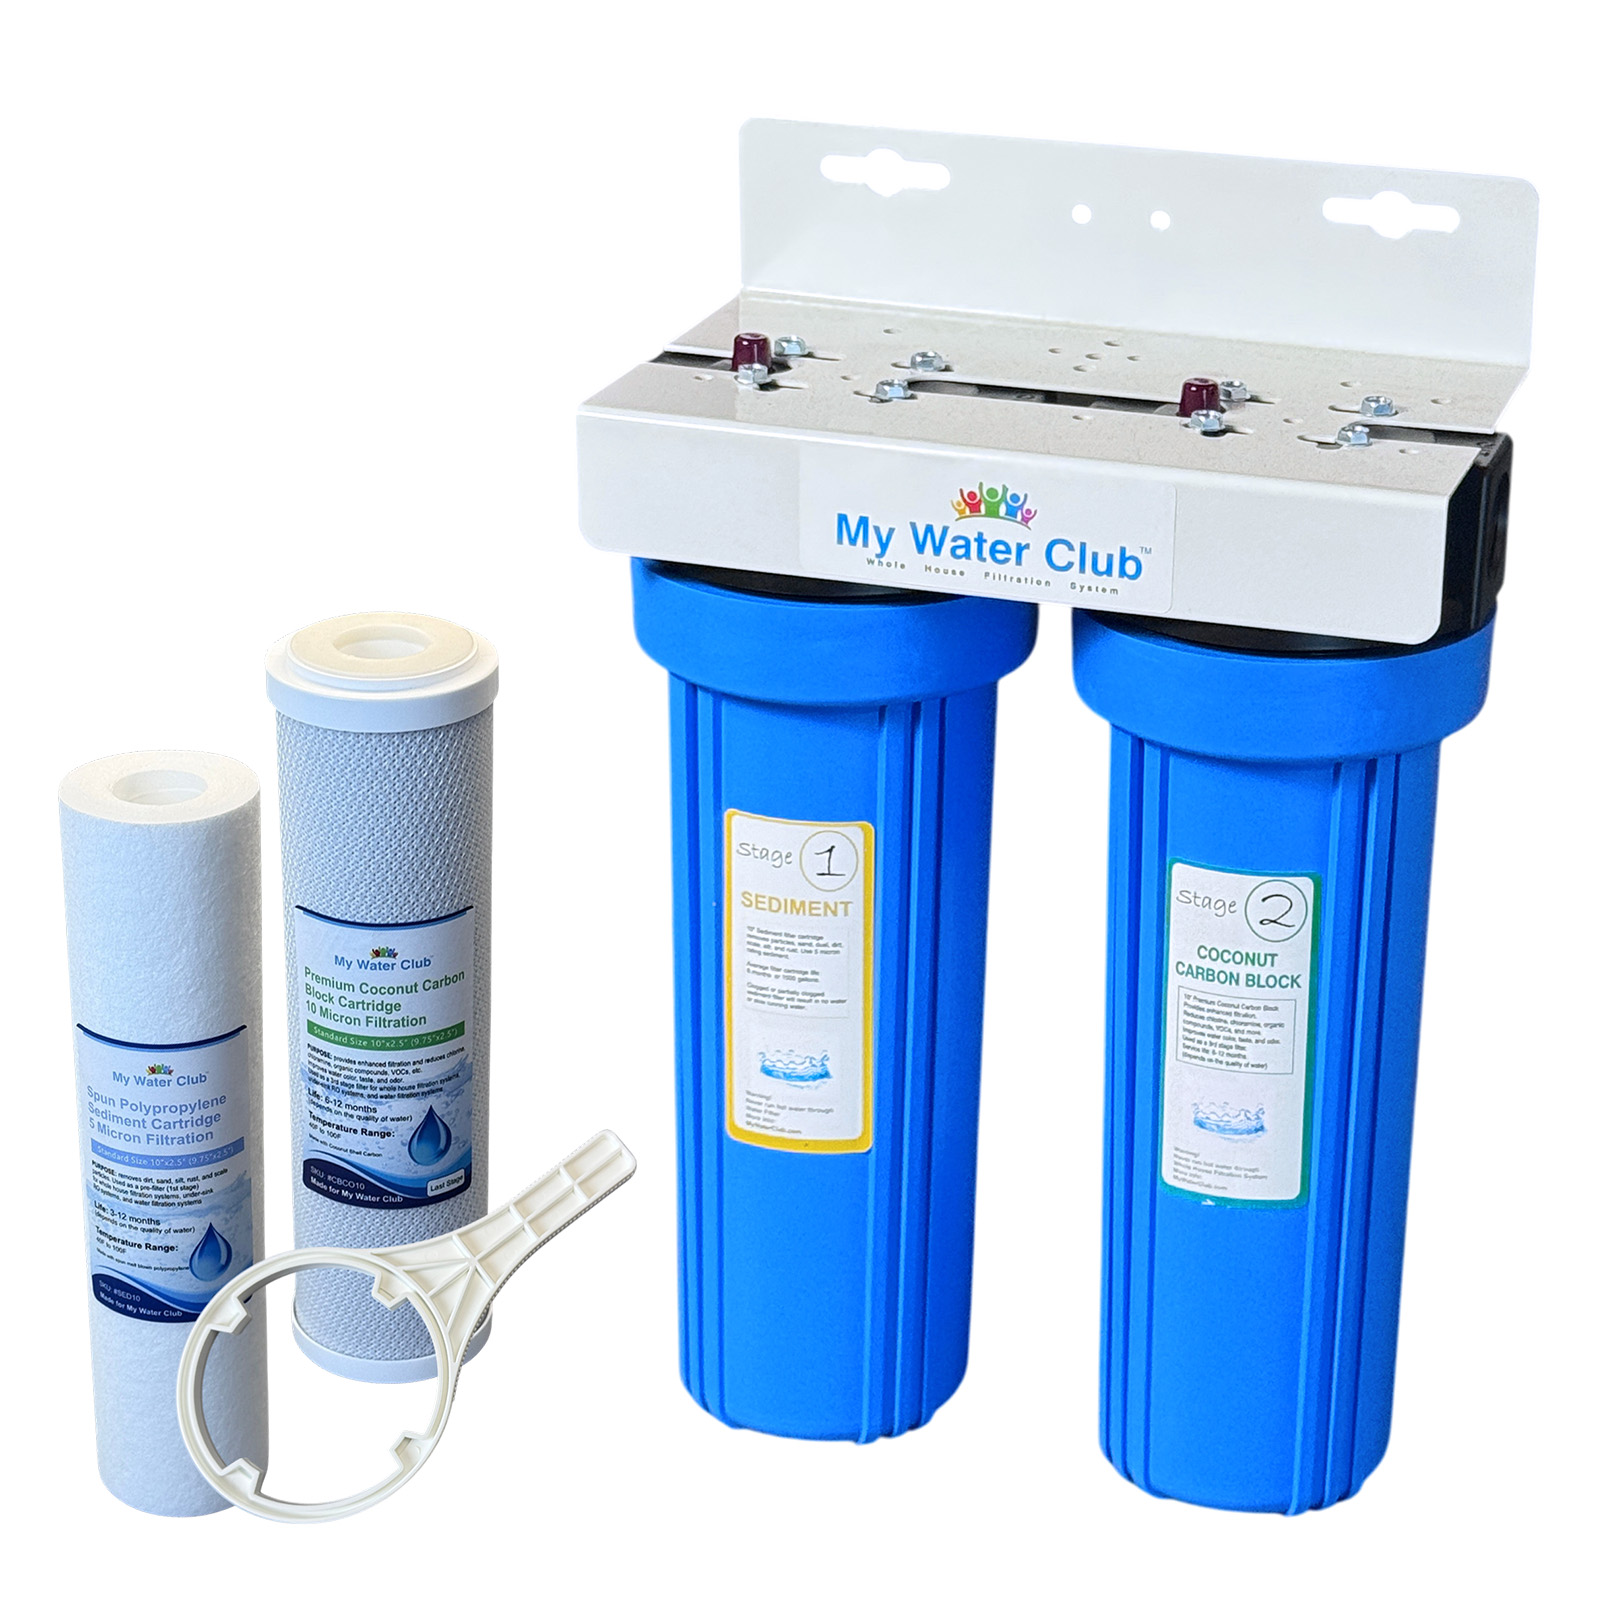
Applies to MyWaterClub whole-house housings fitted with a red pressure-release button in the cap. If your cap has no red button, this page doesn’t apply to your system.
Before you touch anything
Shut off the water supply at the inlet and outlet valves, then press the red button to release the pressure inside the housing. Never loosen or remove a cap, screw, or housing while the system is under pressure.
Tools
Screwdriver
Time
~2-5 minutes
Parts needed
None
Difficulty
Easy
Where the adjustment screw is
The red button sits in the top of the housing cap. The screw that holds it — the pressure-release adjustment screw — is on the inside face of the cap, so you’ll need to unscrew the housing sump from the cap to reach it.
 The red button, on top of the cap
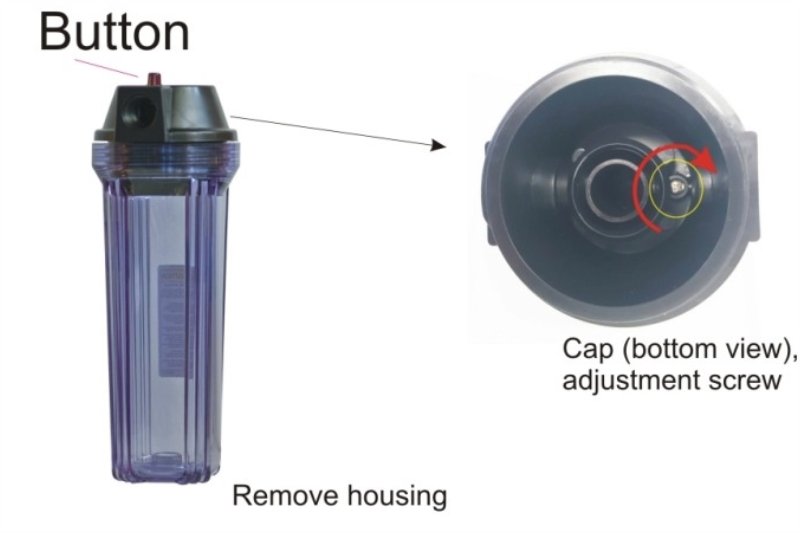 Cap, bottom view — the adjustment screw
Fixing the leak, step by step
- 1
Shut off the water and release the pressure.
Close the inlet and outlet valves, then press the red button until water stops coming out. The housing must be at zero pressure. - 2
Tighten the screw a full turn.
With a screwdriver, turn the screw that holds the red button 360° clockwise — one complete turn. - 3
Turn the water back on and check.
Open the valves slowly and watch the button area. If it still weeps, repeat step 2 — one turn at a time, checking after each. - 4
If tightening from the top isn’t enough, open the housing.
With the water still off and the pressure released, unscrew the housing sump from the cap. The adjustment screw is on the inside face of the cap — snug it down there, then reassemble and re-test.
Don’t overtighten — the button has a job to do
Tighten too far and the red button stops working: it won’t depress, and you lose the ability to release pressure before a filter change. If that happens, back the screw off slightly counterclockwise until the button moves freely again, then re-check for the leak.
On a multi-stage system, you only need one working pressure-release button to depressurize the whole unit. If one button proves stubborn, it’s acceptable to leave that one snugged down tight and rely on another housing’s button.
Still leaking after that?
If a full turn or two doesn’t stop it, the leak is probably not the screw. Check these next:
- ✓Leaking where the sump meets the cap, not at the button? That’s the O-ring / gasket. Remove it, clean the groove, lubricate lightly with silicone grease, and reseat it — or replace it if it’s flattened, nicked, or brittle.
- ✓Cracks or crazing in a semi-clear housing? Housings are a wear part — replace every 2–3 years. A cracked housing can’t be repaired.
- ✓Leaking at the inlet or outlet ports? That’s a thread-sealing issue, not the button — re-wrap the fittings with PTFE tape.
- ✓Water hammer or spikes on your line? Repeated pressure surges can push past a correctly set button. A pressure gauge on the system will tell you.
Installation parts (not included with the system)
Not needed for the fix above — listed here because these are the items most often missing when a whole-house system is first plumbed in:
- Hex nipples or pipe nipples
- Pipe union
- Pipe hangers — if the system is installed without the wall-mount bracket
Parts & help
Please note: These steps cover the red pressure-release button on MyWaterClub whole-house housings. Always shut off the water supply and release system pressure before opening a housing. If you see cracking in a housing, or a leak you can’t trace, stop and contact us rather than continuing to tighten — and if your system is plumbed into a main line you aren’t comfortable working on, use a licensed plumber.