Free U.S. Continental Shipping on orders $35+ ● No Sales Tax outside California

MyWaterClub Product Support
3-Stage Whole House Water Filtration System — 3/4″ Port, Clear Housings
MWC-WHS342SET
Also labeled as: MWC-WHS34SET · WHS34-F5 · WHS34SET — older units carry one of these. All use the same filters and parts.
This page covers specifications, installation, routine filter changes, and the exact replacement parts that fit this model.
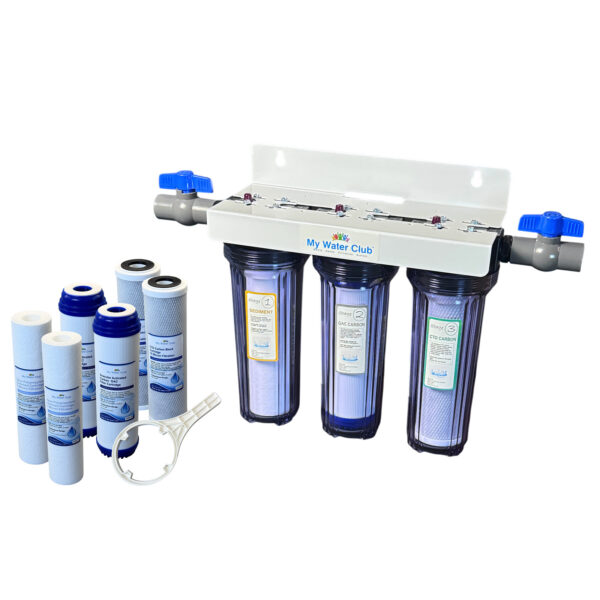
Is this your system?
Check these against the unit on your wall. All five should match.
- ✓Three filter housings in a row
- ✓Housings are clear / translucent — you can see the cartridges inside
- ✓3/4″ NPT inlet and outlet ports
- ✓Cartridges are 10″ × 2.5″ (slim, not Big Blue)
- ✓Two shutoff ball valves at the inlet and outlet
Housings are solid blue instead of clear? That’s the WHF-34V2 → · All models →
Specifications
| Model / SKU | MWC-WHS342SET |
| Stages | 3 — Sediment + GAC Carbon + CTO Carbon Block |
| Ports | 3/4″ NPT (inlet / outlet) |
| Cartridge size | Standard 10″ × 2.5″ (also listed as 9 7/8″ × 2.5″) |
| Micron rating | 5 µm (sediment stage) |
| Housing type | Clear / translucent |
| Working pressure | 20–80 PSI |
| Working temperature | 40–100℉ |
| Typical filter life | 3–6 months (varies with water quality & volume) |
| Brand | MyWaterClub |
Manual & installation
Installation manual (PDF)
Mounting, plumbing connections, startup, and the filter-change procedure.
Install on the main cold-water line after the meter or pressure regulator. The union nipples and shutoff valves let you isolate the system for filter changes without shutting off water to the house.
Mount clear housings away from direct sunlight
Light passing through a clear sump lets algae grow inside and shortens the life of the plastic. A basement, garage interior, or shaded utility wall is ideal. If the only location gets daylight, shield the housings from direct sun.
When to change your filters
| Component | Typical interval | Change sooner if… |
|---|---|---|
| All 3 cartridges Change as a complete set |
3–6 months | Water pressure drops · taste or odor returns · cartridges look visibly dark or loaded · heavy sediment or well water |
| Housing O-rings | Inspect every change Replace every 12–24 months |
Cracked, flattened, brittle, or weeping at the seam |
| Filter housings | 3–4 years | Any crazing, hairline cracks, yellowing, clouding, or a leak that a new O-ring doesn’t stop |
Intervals are typical estimates. Your water chemistry, pressure, and household usage determine the real schedule.
Important: replace the housings every 3–4 years
Filter housings are under constant line pressure. Over years the plastic fatigues and can crack without warning — a failed housing on a main line can flood a home.
Clear housings carry a shorter service life than opaque ones because light exposure accelerates the breakdown of the plastic. Replace all housings on this system every 3–4 years regardless of appearance, and immediately at any sign of crazing, cracking, yellowing, or a persistent leak.
Write the install date on each housing with a marker, or on the magnet, so the next change is easy to date.
Which replacement set fits this system
Match the sediment cartridge style
Sediment cartridges come in two body styles: standard threaded and quick-connect. They are not interchangeable. Check the cartridge currently in Stage 1 (the housing nearest your incoming water line) before ordering, or send us a photo and we’ll identify it. The clear sump makes this easy — you can see the cartridge without opening the housing.
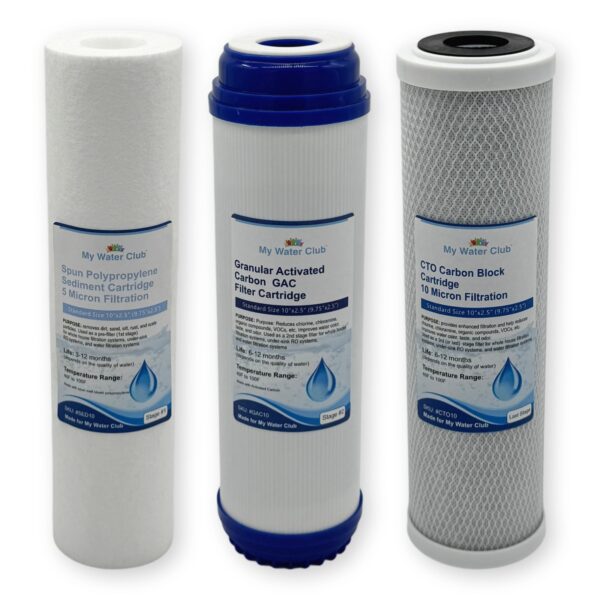
Standard set · SKU 3UF
Sediment + GAC + CTO Carbon Block (3-pack)
The direct like-for-like replacement. One complete change for all three stages.
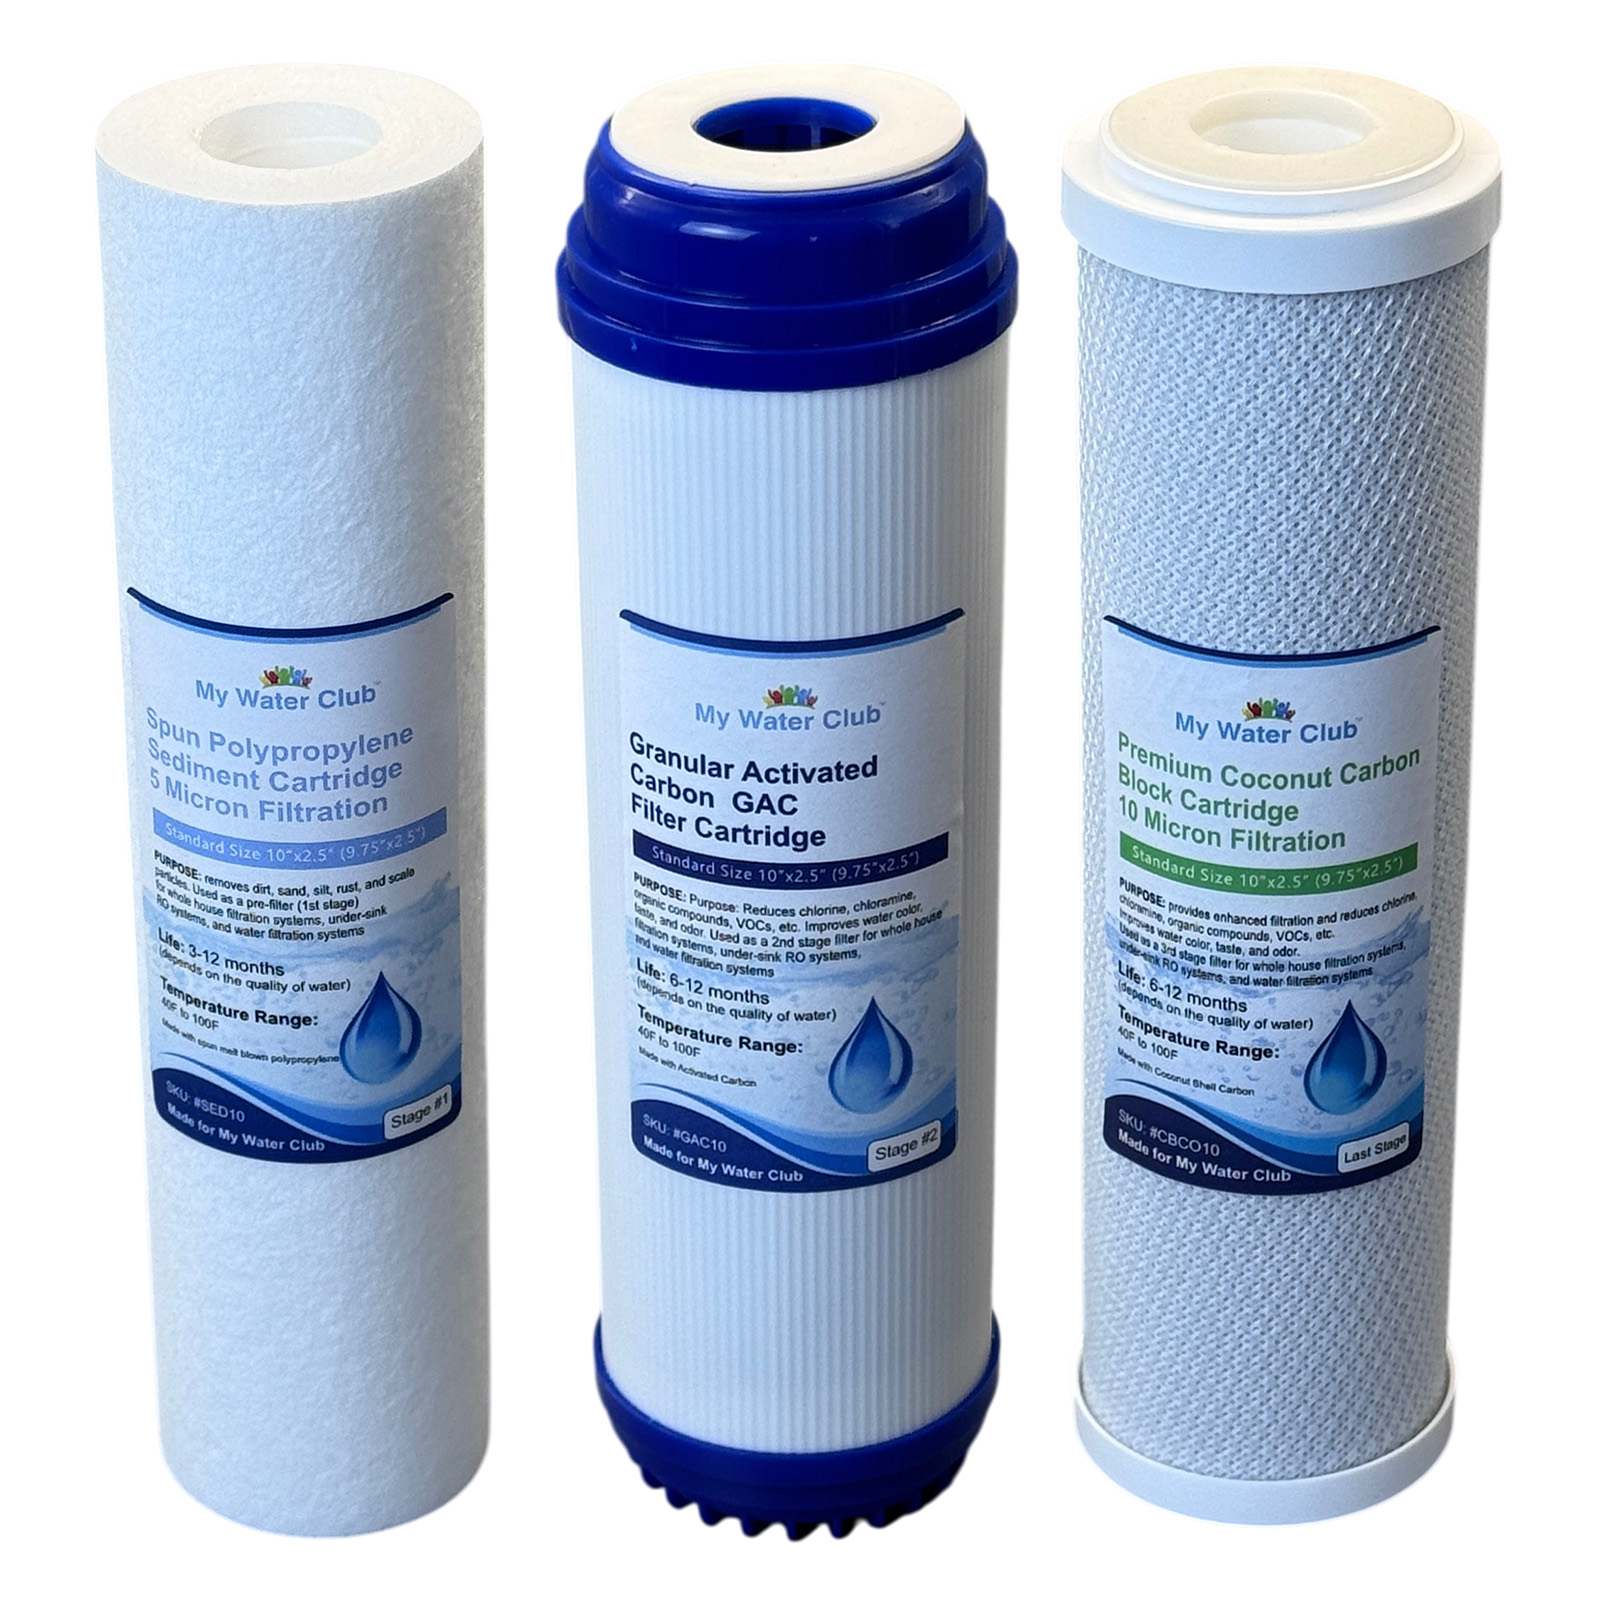
Premium set · multi-year supply
Sediment + GAC + Premium Coconut Carbon Block
Same fit and same three stages, with a coconut-shell carbon block in the final stage for finer taste and odor polishing. Sold as a multi-year supply.
Parts that fit this system
Also available on Amazon. See all Slim 10″×2.5″ parts →
Changing your filters
- Close both ball valves to isolate the system from the house supply.
- Press the pressure-release button on top of each housing, if fitted, to bleed off line pressure.
- Unscrew each housing with the wrench. Have a bucket and towel ready — each housing holds water.
- Remove the old cartridge. Rinse the housing with clean water; no soap or detergent. On clear sumps, wipe any film from the inside wall so you keep a clear view of the next cartridge.
- Inspect the O-ring. If it’s flat, cracked, or brittle, replace it. Seat it fully in its groove and wipe it with a thin film of food-grade silicone grease.
- Fit the new cartridge, keeping stage order: Sediment → GAC → CTO Carbon Block, following the direction of water flow.
- Hand-tighten each housing, then snug it with the wrench. Do not overtighten — overtightening cracks housings and distorts O-rings.
- Open the inlet valve slowly, then the outlet valve. Check every seam for leaks.
- Run a nearby cold tap for 5–10 minutes to flush carbon fines. Grey or cloudy water at first is normal and clears.
- Write the date on the housing or your magnet so the next change is easy to schedule.
Use the clear sumps to your advantage
Glance at Stage 1 once a month. A sediment cartridge that has gone from white to grey or brown is telling you the set is near the end of its life — often before you notice any pressure drop. That visual check is the main practical benefit of clear housings.
Common questions
| What you’re seeing | Most likely cause |
|---|---|
| Water pressure has dropped through the house | A loaded sediment cartridge, usually Stage 1. This is the normal end-of-life signal — change the set. |
| Leak where the housing meets the cap | O-ring not seated in its groove, or worn. Depressurize, reseat or replace the O-ring, lightly grease it. |
| Green tint or growth inside a clear sump | Algae from light exposure. Change the cartridges, clean the sump with water, and relocate or shade the system so it’s out of direct light. |
| Grey or cloudy water after a filter change | Carbon fines and trapped air. Normal. Flush a cold tap for 5–10 minutes. |
| Chlorine taste or smell has come back | Carbon stages are exhausted. Change the set. If your utility uses chloramine rather than chlorine, standard carbon has limited effect — ask us about a catalytic carbon stage. |
| Housing won’t unscrew | Line pressure still in the housing, or it was overtightened last time. Confirm both valves are closed and pressure is released, then use the long-reach wrench. |
| Water is still hard, or leaves scale | Expected. This is a filtration system, not a softener — it does not remove hardness minerals. |
Need help identifying a part?
Please note: Filter life and reduction performance depend on your water chemistry, pressure, and usage, so results vary from home to home. This product is not certified to treat water of unknown quality and is not a substitute for testing your water. Descriptions use general, qualified language and are not health claims. When in doubt, test your water or ask us and we’ll help you build the right stack.